Tutorial 2 – Saito Chat Notifications
Our previous tutorial showed how to create and send transactions, and how to attach data to those transactions. In this one we will build an application that listens for incoming email messages and notifies us on chat when they arrive. You can download this application as a standalone ZIP file or check out our annotated source code online.
By default Saito modules receive transactions addressed to them by name in the tx.msg.module field. It can listen for others by overriding the function below, which allows it to selective match on other module names or transaction properties:
 shouldAffixCallbackToModule(modname, tx) {
   if (modname == "Email") { return 1; }
   return 0;
 }
The next step is adding our onConfirmation() function. This runs every time a transaction we have received gets a confirmation. In this case, we trigger our notifyChat() function if this is the first time we’ve seen a transaction and it is addressed to us. The only tricky thing here is the line that defines “mod_self”. Because of the way confirmations are processed in Saito, onConfirmation() must fetch a reference to its own module from app.modules in order to access internal variables and functions.
  onConfirmation(blk, tx, conf, app) {
    if (conf == 0) {
      if (tx.transaction.to[0].add == app.wallet.returnPublicKey()) {
        let mod_self = app.modules.returnModule("Tutorial02");
        mod_self.notifyChat(tx);
      }
    }
  }
What follows is classic Saito development. In Saito the information that applications need are embedded in the transactions that are cryptographically signed and passed (on-chain and off-chain) around the network. The easiest way to develop applications is to treat the transaction itself as the protocol. Applications pass transactions around and extract the information they need when and where they need it. Users who want to save the data? Save the entire transaction! Updating the protocol does not require developers to update their application middleware!
This is why notifyChat() receives our email transaction, and creates another transaction for passing to the Chat module. The only question is how to get this new transaction to Chat. We could broadcast it out onto the blockchain like we did in our previous tutorial, but since that would take a bit of time, many modules support an off-chain relay-method called handlePeerRequest(). Because Chat implements handlePeerRequest() we can have our new module submit transactions to it this way.
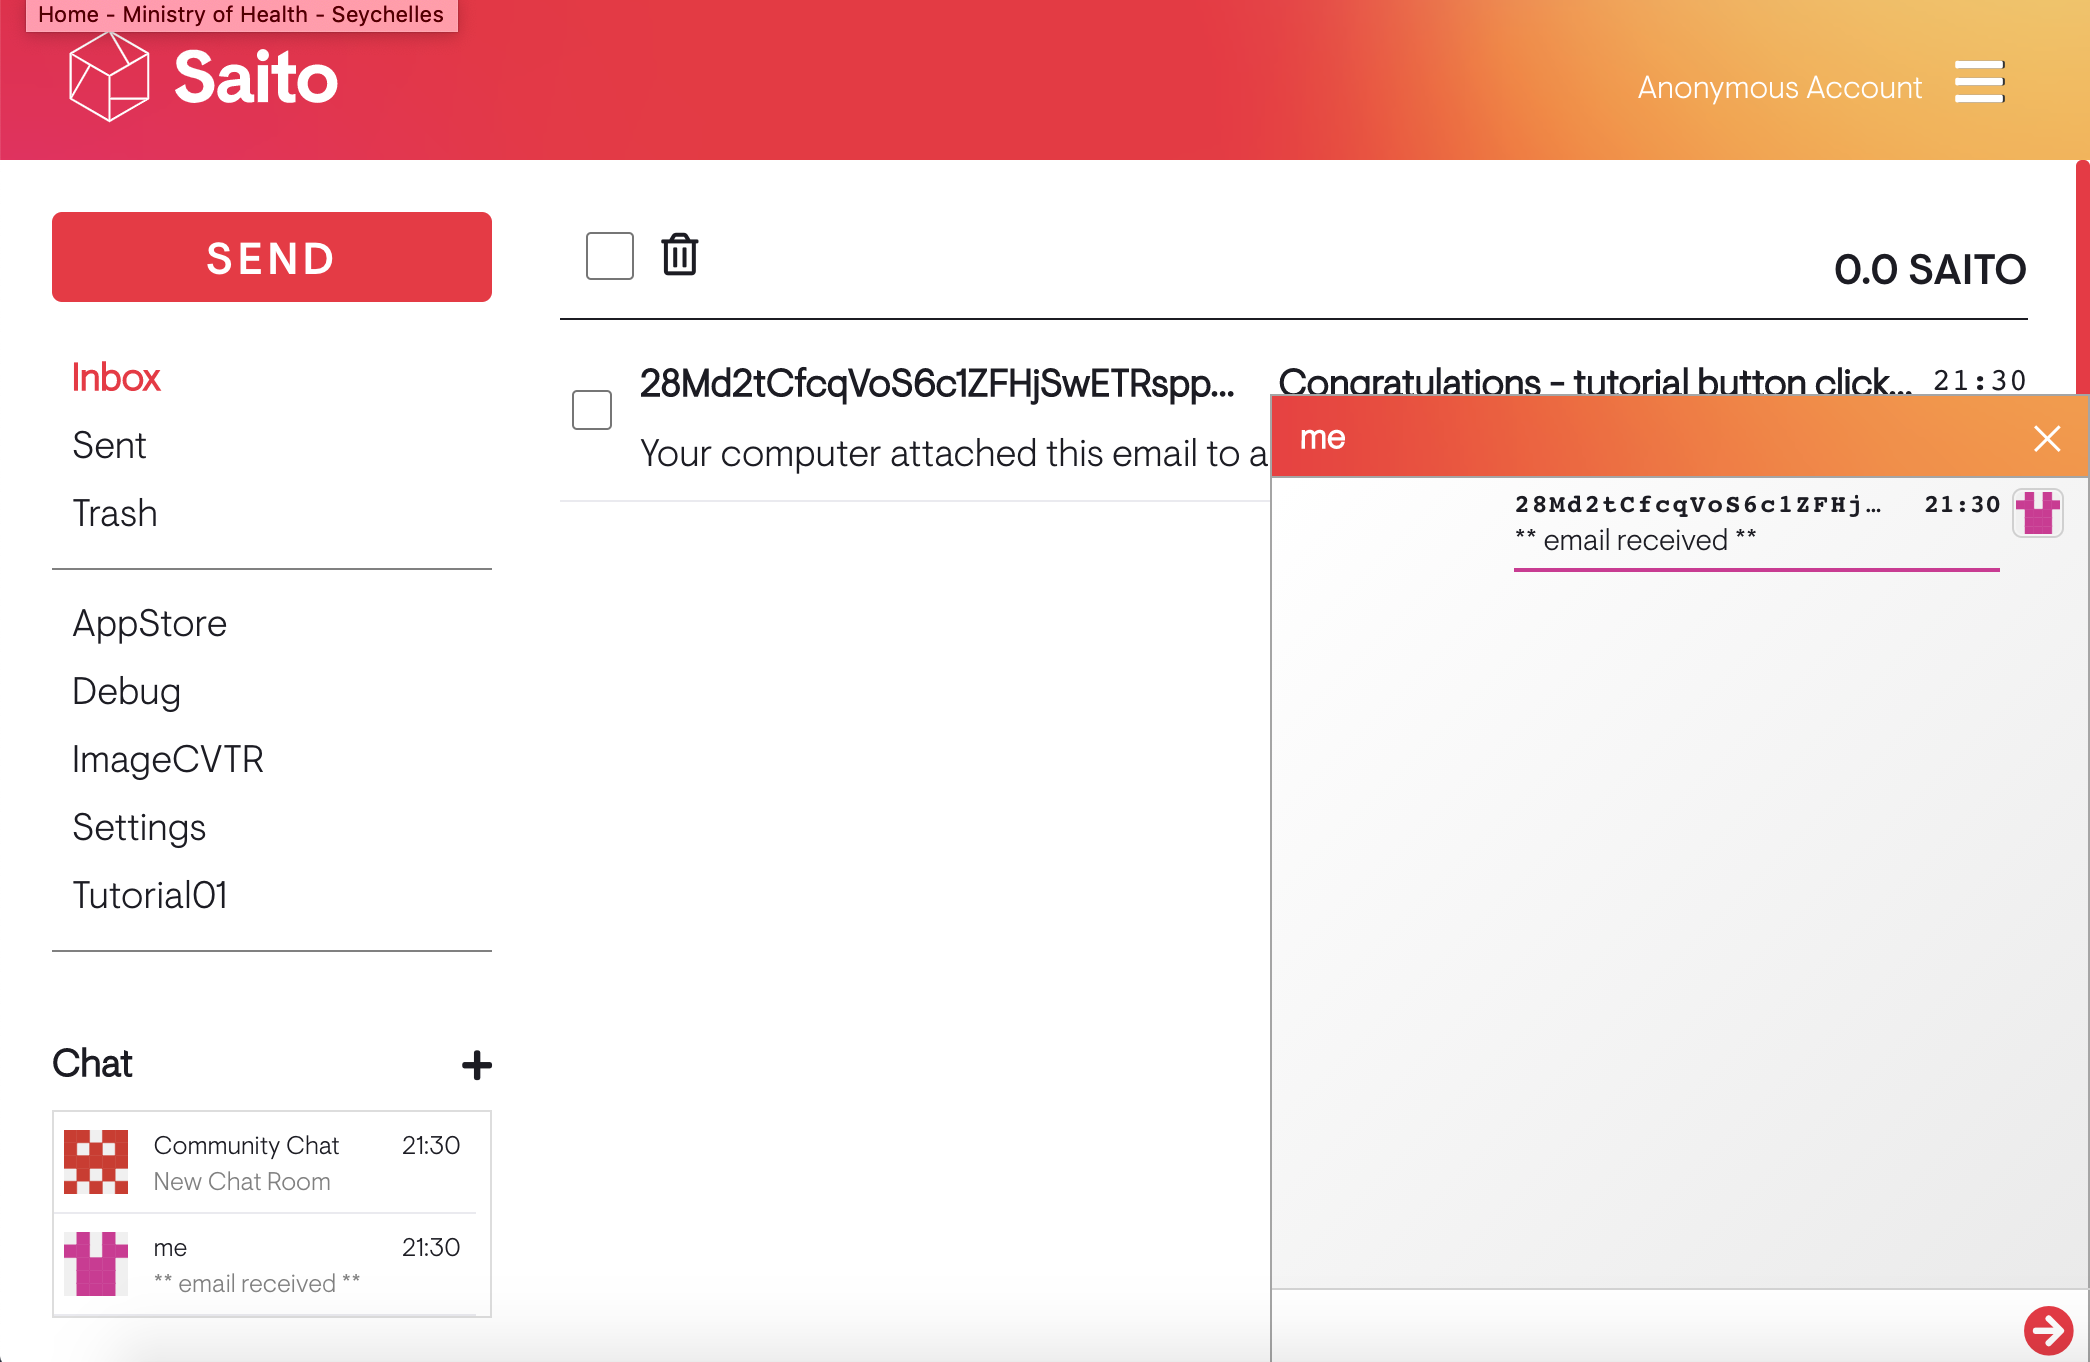
So our remaining code creates a request object (req), attaches our transaction to it, and sends it directly to the Chat module. You can look into the Chat module if you’re curious to see what happens once it receives this transaction: it creates a dedicated chat for messages coming from the sending address and lists your alert there. If you still have Tutorial01 installed, you can see that clicking the button we created will now ALSO trigger your getting a chat notification: modules can combine in interesting and new ways!
At this point we’ve covered how to send transactions with arbitrary data attached. We’ve covered how to publish those transaction to the blockchain, and how to write an application that receives transactions and extracts that data. We’ve also covered the two primary ways that Saito applications send and receive data: onConfirmation() for on-chain transactions, and handlePeerRequest() for off-chain transactions.